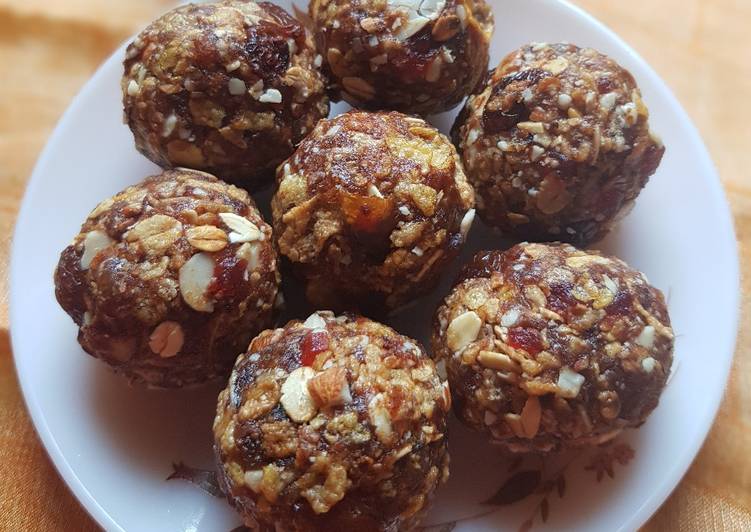
Hello everybody, hope you’re having an incredible day today. Today, I’m gonna show you how to prepare a special dish, dry fruit muesli ladoo. One of my favorites. For mine, I am going to make it a bit unique. This will be really delicious.
Dry fruit Muesli Ladoo is one of the most favored of current trending meals on earth. It’s appreciated by millions every day. It’s easy, it is fast, it tastes delicious. They’re fine and they look wonderful. Dry fruit Muesli Ladoo is something which I’ve loved my whole life.
Easiest Way to Make Dry fruit Muesli Ladoo
To begin with this particular recipe, we must first prepare a few components. You can have dry fruit muesli ladoo using 4 ingredients and 4 steps. Here is how you can achieve that.
Ingredients
The ingredients needed to make Dry fruit Muesli Ladoo:
- Make ready 1 bowl Muesli
- Make ready 1 cup dates(pitted)
- Get 2 tbspn tutti frutti
- Prepare 1 tbspn ghee
Instructions
Instructions to make Dry fruit Muesli Ladoo:
- Remove seeds from dates and grind to a coarse mixture
- Dry roast the Muesli for 5 minutes. I've added extra almonds and ground them separately.
- Heat ghee in a nonstick pan add the ground dates and mix the Muesli and tutti frutti.
- When slightly warm make into balls and store in airtight container.
As simple as that Easiest Way to Prepare Dry fruit Muesli Ladoo
So that’s going to wrap it up with this exceptional food dry fruit muesli ladoo recipe. Thanks so much for your time. I am confident you can make this at home. There is gonna be interesting food at home recipes coming up. Don’t forget to save this page in your browser, and share it to your family, colleague and friends. Thanks again for reading. Go on get cooking!
Print this page