Hello everybody, I hope you’re having an incredible day today. Today, I’m gonna show you how to prepare a distinctive dish, hyderabadi chicken biryani. It is one of my favorites. For mine, I am going to make it a bit unique. This will be really delicious.
Hyderabadi Chicken Biryani is one of the most popular of current trending meals on earth. It is enjoyed by millions daily. It is simple, it’s quick, it tastes yummy. Hyderabadi Chicken Biryani is something that I have loved my entire life. They are fine and they look wonderful.
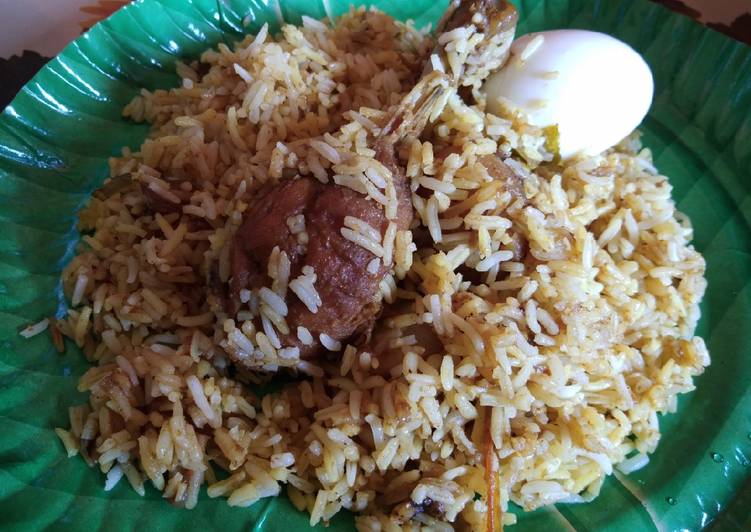
Steps to Make Hyderabadi Chicken Biryani
To begin with this recipe, we must prepare a few ingredients. You can cook hyderabadi chicken biryani using 27 ingredients and 4 steps. Here is how you cook it.
Ingredients
The ingredients needed to make Hyderabadi Chicken Biryani:
- Make ready 1.5 kg Chicken Leg pieces
- Get 2 kg Basmati rice
- Take 6 Potatoes
- Make ready 11 onions
- Take 12 pods garlic
- Make ready 4 inch ginger
- Prepare 20 green chilli
- Take 11 boil eggs
- Take Whole spices
- Make ready 15 green cardamom
- Take 12 cinnamon sticks
- Prepare 15 black peppers
- Make ready 15 cloves
- Get 4 bay leaf
- Make ready Spices
- Prepare 4 teaspoon cumin powder
- Take 4 teaspoon coriander powder
- Make ready 2 teaspoon red chilli powder
- Prepare 1 teaspoon turmeric powder
- Make ready to taste Salt
- Make ready Other
- Take 50 gm ghee
- Get 4 table spoon curd
- Take 2 teaspoon garam masala
- Prepare 5 tablespoon Biriyani masala
- Take 4 tablespoon finely chopped coriander leaves
- Make ready 1 cup mustard oil
Instructions
Steps to make Hyderabadi Chicken Biryani:
- Soak the rice for one hour.. Now take a big rice making saucepan.. Pour water onto it as required for Basmati rice now add cardamom, cinnamon sticks, black pepper, cloves and bay leaf let the water boil now add the soak rice.. Cook the rice Upto 80%.. Keep the cook rice in a flat space.. So the rice get stick each other
- Wash the chicken leg and thigh pieces well.. Mix it well with turmeric powder, lemon juice, Salt as required.. Marinate it for half an hour.. Now take a pan add mustard oil heat it now shallow fry the chicken pieces until the both side turn golden brown.. Now add onions Finely chopped and fried them until they turns to golden brown.. Take out fried onion slices
- Now add mustard oil and add green cardamom, cinnamon sticks, black pepper,cloves, bay leaf add the rest fried onion slices, and add the pastes made of onions, ginger, garlic, green chilli.. fried the spices well now add cumin powder, coriander powder, turmeric powder, and salt as required well all.. Now add water mix it with all.. Now add the chicken pieces and let it cook for 30 minutes.. Stir it occasionally..
- Lastly add sliced tomatoes, capsicum turn off the flame and cover pan for 15 minutes..now take the rice saucepan heat it and now add ghee, green cardamom, cinnamon sticks, black pepper, cloves and bay leaf.. Now layered the rice then spread Biryani masala, chopped coriander leaves, ghee.. Then again repeat the layer.. And now cover the saucepan tightly and keep it on the very low flame for 20 minutes..
As simple as that Recipe of Hyderabadi Chicken Biryani
So that is going to wrap this up for this special food hyderabadi chicken biryani recipe. Thanks so much for your time. I’m sure you can make this at home. There’s gonna be more interesting food in home recipes coming up. Don’t forget to save this page in your browser, and share it to your loved ones, colleague and friends. Thanks again for reading. Go on get cooking!
Print this page