Hey everyone, I hope you’re having an incredible day today. Today, we’re going to prepare a distinctive dish, hyderabadi biryani rice (with tutorial pics). One of my favorites. This time, I’m gonna make it a little bit tasty. This is gonna smell and look delicious.
Hyderabadi Biryani Rice (with tutorial pics) is one of the most favored of recent trending meals in the world. It is simple, it is fast, it tastes yummy. It’s appreciated by millions daily. Hyderabadi Biryani Rice (with tutorial pics) is something that I have loved my whole life. They’re fine and they look wonderful.
How to Make Hyderabadi Biryani Rice (with tutorial pics)
To begin with this particular recipe, we must prepare a few ingredients. You can cook hyderabadi biryani rice (with tutorial pics) using 33 ingredients and 5 steps. Here is how you can achieve it.
Ingredients
The ingredients needed to make Hyderabadi Biryani Rice (with tutorial pics):
- Make ready 400 g Chicken
- Prepare 1 cup Basmathi Rice (soaked)
- Make ready 2 Tbsp Cooking Oil
- Make ready 2 Tbsp Butter or Ghee
- Prepare as needed Salt
- Get 2 cups Water (or more)
- Take [Garnish]
- Take 1/2 cup Caramelised Onions or Shallots
- Prepare 10 g Mint Leaves
- Make ready 10 g Fresh Coriander Leaves
- Get 1/4 cup Lemon Juice
- Prepare 1/4 cup Milk with Saffron/Yellow Coloring
- Make ready [Aromatics]
- Prepare 1 pc Cinnamon Stick
- Prepare 2 pc Star Anise
- Prepare 3 pc Cardamom Pods
- Prepare 4 pc Cloves
- Take 5 pc Peppercorn
- Prepare 1 tsp Caraway Seeds
- Make ready [Biryani Paste] - processed in a blender
- Make ready 1/2 cup Caramelised Onions or Shallots
- Get 10 g Mint Leaves
- Take 10 g Fresh Coriander Leaves
- Take 30 g Red Chillies (deseed)
- Get 30 g Green Chillies (deseed)
- Make ready 20 g Ginger
- Make ready 20 g Garlic
- Make ready 20 g Turmeric
- Get 1/4 cup Yogurt (70 g)
- Prepare 1/4 Lemon Juice
- Get 1 tsp Salt
- Take 2 tsp Sugar
- Make ready 1 Tbsp Garam Masala
Instructions
Steps to make Hyderabadi Biryani Rice (with tutorial pics):
- MARINADE: marinate the Chicken in the Biryani Paste for 30 minutes or 3 hours to overnight.
- RICE: in a pot of Water, add the Aromatics, Salt and Rice. Cook it until it is almost cooked (50-70%). Then, strain the rice and set aside. MEANWHILE, in an adequate sized Dutch Oven, melt the Ghee or Butter with Cooking Oil and let it cool.
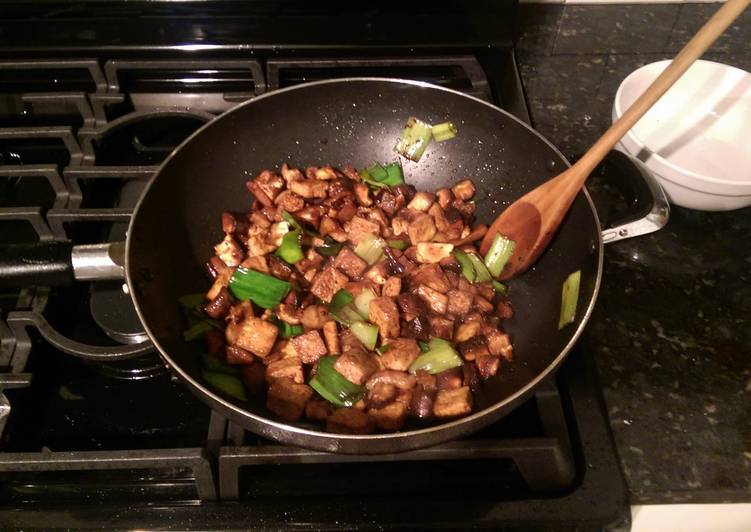
- LAYERING: once the Butter and Oil are cooled, arrange the Chicken neatly in the Dutch Oven along with all the Biryani Paste. Then, evenly lay out the Rice on top of the Chicken. Then top off the Rice with the Garnish, as well as Milk-Saffron solution (or Milk-Coloring)
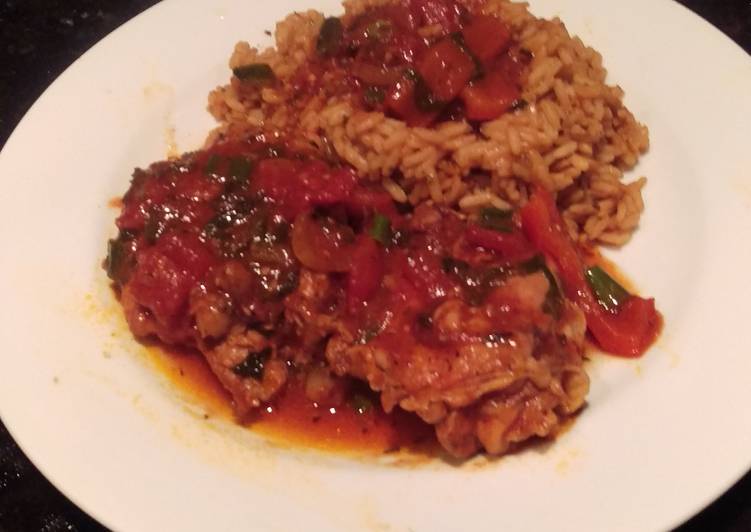
- SLOW COOK: cover the Dutch Oven with a lid and cook the Biryani on Medium heat for 5 minutes, and then TURN DOWN to Low heat and continue to cook for 20-25 more minutes. Check if the Chicken is tender (no easy way to do this). When the Biryani is ready to serve, garnish with more Caramelised Shallots, Coriander and Mint Leaves.
- Don't worry if this happen to the pot's bottom, it's part of the process. Just soak the pot overnight scrub it in the morning.
As simple as that How to Make Hyderabadi Biryani Rice (with tutorial pics)
So that’s going to wrap it up for this exceptional food hyderabadi biryani rice (with tutorial pics) recipe. Thanks so much for your time. I am sure you will make this at home. There’s gonna be more interesting food in home recipes coming up. Don’t forget to bookmark this page in your browser, and share it to your family, colleague and friends. Thank you for reading. Go on get cooking!
Print this page