Hello everybody, I hope you are having an incredible day today. Today, I will show you a way to make a special dish, crunchy medu wada. One of my favorites. For mine, I’m gonna make it a bit unique. This is gonna smell and look delicious.
Medu Vada Recipe /Ulundu Vadai Recipe. Medu Vada is a famous south Indian side dish for breakfast. Medu vada is made with Urad Dal which is rich in fibre and.
Crunchy Medu wada is one of the most favored of recent trending meals on earth. It’s simple, it’s quick, it tastes yummy. It’s appreciated by millions every day. Crunchy Medu wada is something that I’ve loved my entire life. They’re fine and they look fantastic.
Simple Way to Prepare Crunchy Medu wada
To begin with this particular recipe, we must prepare a few ingredients. You can cook crunchy medu wada using 7 ingredients and 9 steps. Here is how you cook it.
Ingredients
The ingredients needed to make Crunchy Medu wada:
- Prepare 1 cup split black gram
- Make ready 1 teaspoon Salt
- Prepare 2-3 green chilles
- Get 1 inch piece of ginger
- Make ready 1/2 teaspoon cumin seeds
- Get As required Oil for deep frying
- Get 2-3 tablespoons fine semolina (optional)
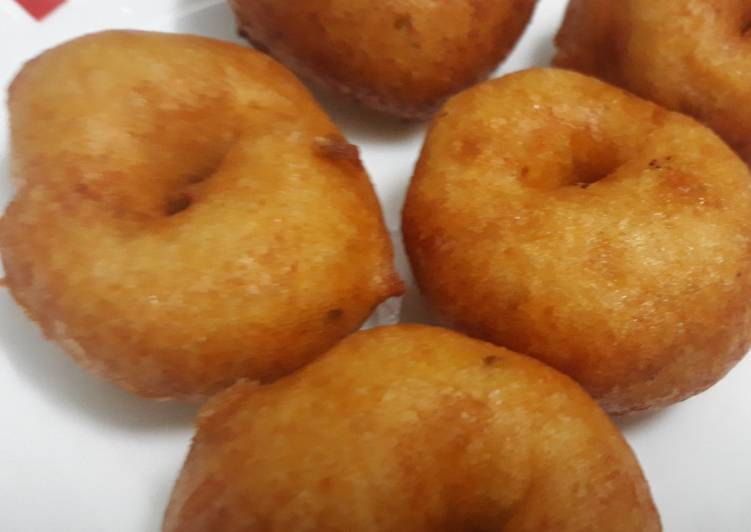
HOT CRUNCHY MEDU VADAS, irresistibly yum, best eaten fresh off the kadhai! Making them in their traditional donut shape is an acquired skill, which takes a little practice. Medu vada (pronounced [meːd̪ʊ vəɽaː]; literally "soft vada") is a South Indian fritter made from Vigna mungo (black lentil or urad dal). It is usually made in a doughnut shape, with a crispy exterior and soft interior. the word medu in the medu vada, literally means soft in kannada language. basically this word is attached to this dish, to describe softness yet the crispiness it has. perhaps the.
Instructions
Instructions to make Crunchy Medu wada:
- Wash and soak black gram for 1 hour.
- Drain the water and grind it to a semi fine paste. Try not to use much water while this process.
- Add crushed, ginger and chillies. Also add salt and cumin seeds. Mix well with your hands.
- If you find your batter to be a little loose, then you can add a few tablespoons of fine semolina and let the batter sit for some time and then start frying.
- Heat oil for frying and test if it's ready by adding small pinch of the batter. It should start coming up immediately. Medium hot oil is perfect for frying wadas, so they are also cooked from the inside.
- Wet your palms slightly in clean water, take some batter in your hand, make a small whole in the centre and slide it gently in the oil.
- Repeat the same method and prepare all the wadas. You can also prepare them in any shape you like. Just keep wetting your palms, so the batter just slides easily into the oil.
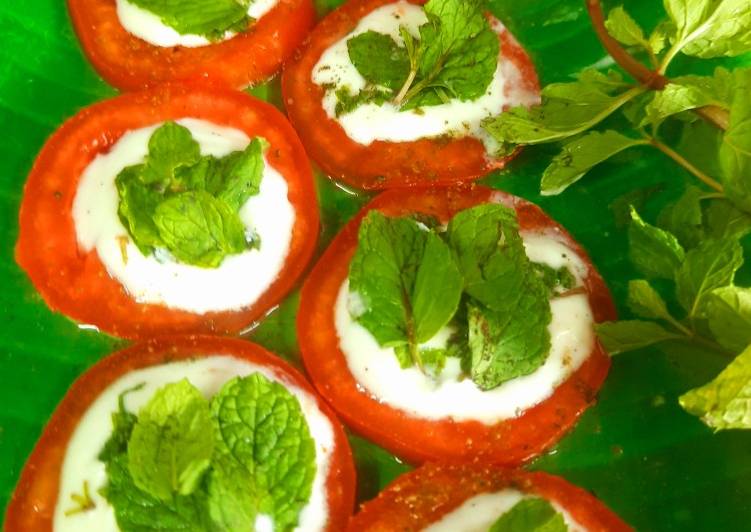
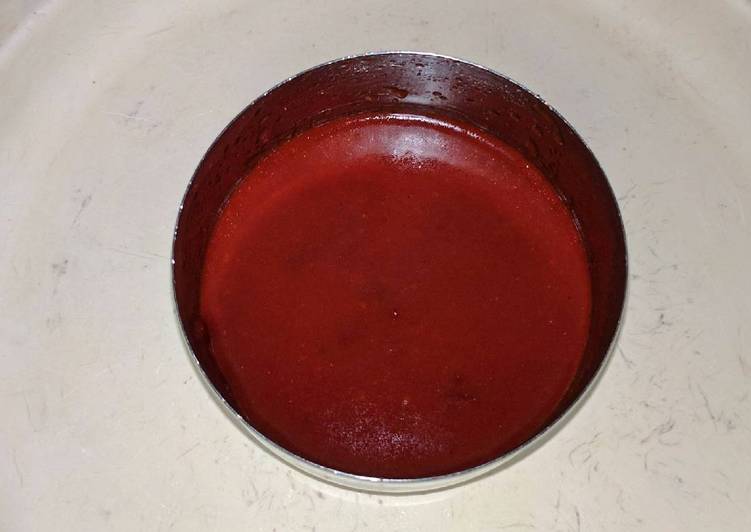
- Wadas taste best with chutney and Sambhar. Today I am serving this dish with coriander and coconut chutney.
- I have prepared this today for my special guests.
If Medu Vada Batter is too thick: The Vada will shape nicely but they will be hard inside after frying. If batter is too soft: it will not be able to hold the shape and will absorb too. Learn more about Medu Vada,vada,meduvada,idli,dosa,Medu vada, crispy vada , medu vada recipe, medu vada wiki, medu vada recipe in hindi,medu vada batter. Medhu vadai recipe - Ulunthu vadai - ulundu vadai- medu vada - with video and step by step pictures, tips and tricks to make perfect shape. The only work/help I used to do.
As simple as that How to Prepare Crunchy Medu wada
So that is going to wrap this up with this exceptional food crunchy medu wada recipe. Thank you very much for your time. I’m sure that you will make this at home. There’s gonna be more interesting food at home recipes coming up. Remember to bookmark this page in your browser, and share it to your loved ones, friends and colleague. Thanks again for reading. Go on get cooking!
Print this page