Hey everyone, I hope you are having an amazing day today. Today, I’m gonna show you how to make a distinctive dish, medu vada. It is one of my favorites. This time, I will make it a bit unique. This is gonna smell and look delicious.
Medu Vada is one of the most well liked of recent trending foods on earth. It’s enjoyed by millions daily. It’s easy, it is quick, it tastes delicious. They are nice and they look fantastic. Medu Vada is something that I have loved my whole life.
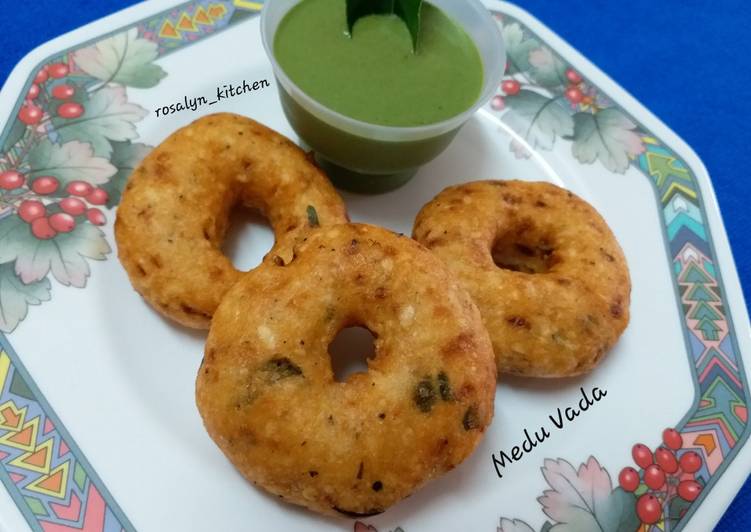
Medu vada recipe with step by step photos - Crispy, fluffy and delicious vada that goes very well with coconut chutney or sambar. These urad dal vada are also known as Garelu in Andhra, Uzhunnu. Medu vada are most commonly made in traditional South Indian homes.
Recipe of Medu Vada
To get started with this recipe, we must prepare a few components. You can have medu vada using 10 ingredients and 10 steps. Here is how you can achieve it.
Ingredients
The ingredients needed to make Medu Vada:
- Get 1 cup Urad Dal
- Make ready 1-2 tbsps Rice Flour (Optional)
- Take 10-15 Black Peppercorns (Ground Coarsely)
- Make ready as required Oil (For Deep Frying)
- Get 1 tsp Salt (Or as required)
- Take To Finely Chopped:
- Get 1 inch Ginger
- Make ready 4 Green Chillies
- Get 1 Sprig Curry Leaves
- Prepare Half an Onion
Medu vada or vadai is a traditional favourite of South India that features not just in everyday cuisine. Medu vada is one of those unforgettable Southern Indian meals. It is served with steaming hot Sambar and fresh coconut chutney in some places. Medu vadas are uncomplicated to make.
Instructions
Steps to make Medu Vada:
- Rinse the urad dal until the water runs clear. Drain the water completely.
- Add it to a blender and blend to a fine paste with as little water as possible. Remove and transfer into a bowl. Beat it well in circular motion to make it lighter and to increase it's volume.
- Add the ginger, green chillies, curry leaves and onions to a chopper.
- Chop it until finely chopped.
- Add the chopped ingredients to the dal paste. Add the coarsely pounded black pepper and salt.
- Give it a good mix and the batter is ready for deep frying.
- Heat oil in a kadai on medium flame. Wet both hands in cold water. Take a lime sized ball of batter with your right hand and place it on your straightened left hand. Flatten it gently. Make a hole in the middle with your right finger. Flip it gently to your right hand and slide in carefully in the hot oil. Wash and wet your hands again. Repeat the process. Add few vadas at a time so that it gets fried well.
- Keep turning the vadas till they are golden brown in color. Take them out carefully on a kitchen paper to absorb the extra oil.
- Continue to make vadas with the rest of the batter.
- Serve hot medu vada immediately with chutney of your choice.
Allow vada to get medium golden brown on one side before flipping over to the other side. Medu vada is an Indian snack that is visually similar to a doughnut, consisting of a deep-fried batter It is believed that medu vada was invented in the city of Maddur, located in the region that is today. Medu Vada Recipe, Medhu Vadai Recipe, How To Make Medu Vada Recipe. lentil savory doughnuts, a south Indian breakfast. Bhatura is traditional North Indian Punjabi classic Indian bread. Thats amma making the medu vada 🙂.
As simple as that Recipe of Medu Vada
So that is going to wrap this up for this special food medu vada recipe. Thank you very much for reading. I am sure that you can make this at home. There’s gonna be more interesting food in home recipes coming up. Don’t forget to save this page on your browser, and share it to your loved ones, friends and colleague. Thanks again for reading. Go on get cooking!
Print this page