Hello everybody, hope you’re having an amazing day today. Today, I’m gonna show you how to make a distinctive dish, hyderabadi mirchi ka salan aur pulao. It is one of my favorites food recipes. This time, I’m gonna make it a little bit tasty. This will be really delicious.
Hyderabadi Mirchi Ka Salan Aur Pulao is one of the most favored of current trending meals on earth. It’s simple, it is quick, it tastes delicious. It is enjoyed by millions daily. They’re fine and they look fantastic. Hyderabadi Mirchi Ka Salan Aur Pulao is something that I have loved my entire life.
How to Make Hyderabadi Mirchi Ka Salan Aur Pulao
To get started with this recipe, we have to prepare a few ingredients. You can cook hyderabadi mirchi ka salan aur pulao using 39 ingredients and 3 steps. Here is how you cook that.
Ingredients
The ingredients needed to make Hyderabadi Mirchi Ka Salan Aur Pulao:
- Take 10 thick green chillies(slit open and deseeded)
- Prepare 1 tsp whole zeera
- Get 1/2 tsp rai
- Take 1/4 tsp methi
- Take 1/4 tsp kalonji
- Get 5-6 curry leaves
- Prepare 1/4 tsp haldi
- Prepare 2 tbsp dhania powder
- Take 2 tbsp zeera powder
- Take 2 tsp red chilli powder
- Get 4 tbsp imli pulp
- Prepare 2 tbsp coriander leaves
- Prepare As needed Oil
- Get For dry powder
- Make ready 2 tbsp roasted peanuts
- Get 2 tbsp sesame seeds
- Take 1 tbsp jeera / cooking
- Prepare To be ground to paste
- Make ready 1 onion
- Take 2 tomatoes
- Make ready 1/2 inch piece ginger
- Take 6 cloves garlic
- Make ready 3 tbsp dry grated coconut
- Make ready For the Pulao
- Make ready 2 cups basmati rice
- Make ready 3 & 1/2 cups water
- Get 1 cup mixed vegetables (carrot, cauliflower and peas)
- Get 1/2 capsicum chopped
- Take 2 onions
- Get 2 green chillies chopped
- Prepare 1/2 tsp garam masala powder
- Take 1 tbsp whole garam masala
- Get 1/2 cup coriander leaves
- Make ready 1/4 cup mint leaves
- Get 1/2 tsp cumin seeds
- Prepare 1/4 tsp saunf / fennel seeds
- Make ready 1/2 tsp ginger garlic paste
- Take 3-4 tbsp ghee
- Prepare To taste Salt
Instructions
Instructions to make Hyderabadi Mirchi Ka Salan Aur Pulao:
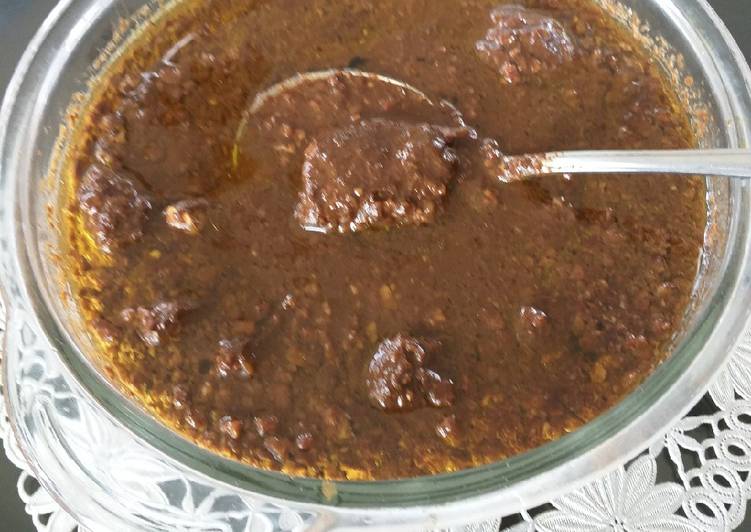
- Dry roast the masala and grind to a powder. Grind the ingredients under paste section and set aside.Heat oil in a vessel. Add the chillies and fry till white. Remove and set aside.
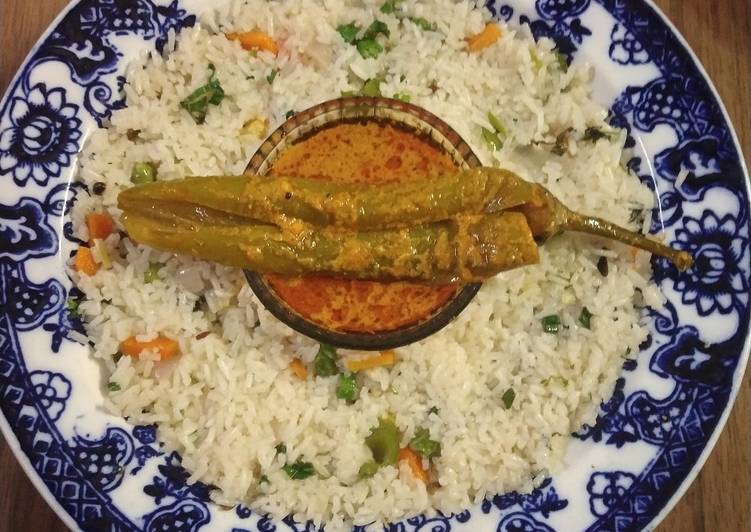
- In the same oil add the jeera, rai, methi, kalonji and curry leaves. Add the paste and the dry masala. Saute well. Also add all the other powdered masala and cook till oil separates. Add enough water and cook the gravy well. Add the imli pulp and leave in the fried chillies. Garnish with coriander leaves. Serve with pulao
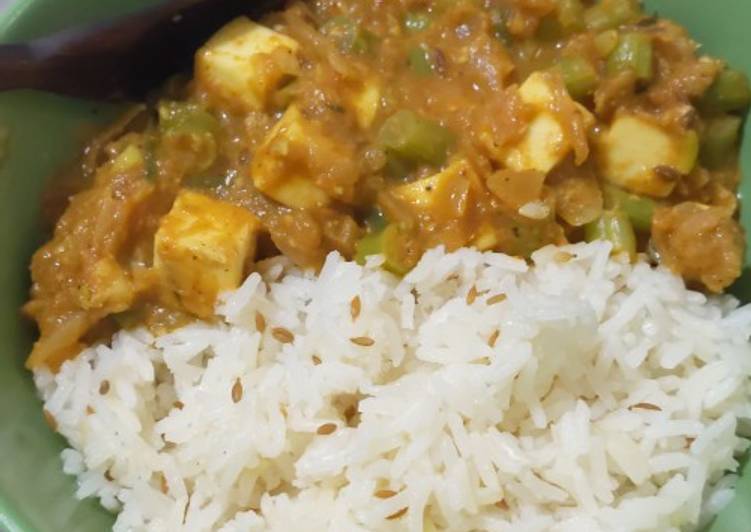
- The Pulao. Heat ghee in a vessel. Add the whole garam masala, cumin seeds and saunf. Let them splutter. Add the onions and cook till translucent. Add the garam masala powder, ginger garlic paste and saute for a few minutes. Add the mixed vegetables, coriander leaves and mint leaves. Add the washed and soaked rice and fry till any residue water dries up. Add the required quantity of water and salt. Cook on high till water almost dries up. add the capsicum. Mix well. Cover and simmer till done.
As simple as that Recipe of Hyderabadi Mirchi Ka Salan Aur Pulao
So that is going to wrap it up with this exceptional food hyderabadi mirchi ka salan aur pulao recipe. Thanks so much for reading. I am confident you can make this at home. There is gonna be more interesting food at home recipes coming up. Remember to save this page in your browser, and share it to your loved ones, friends and colleague. Thank you for reading. Go on get cooking!
Print this page